

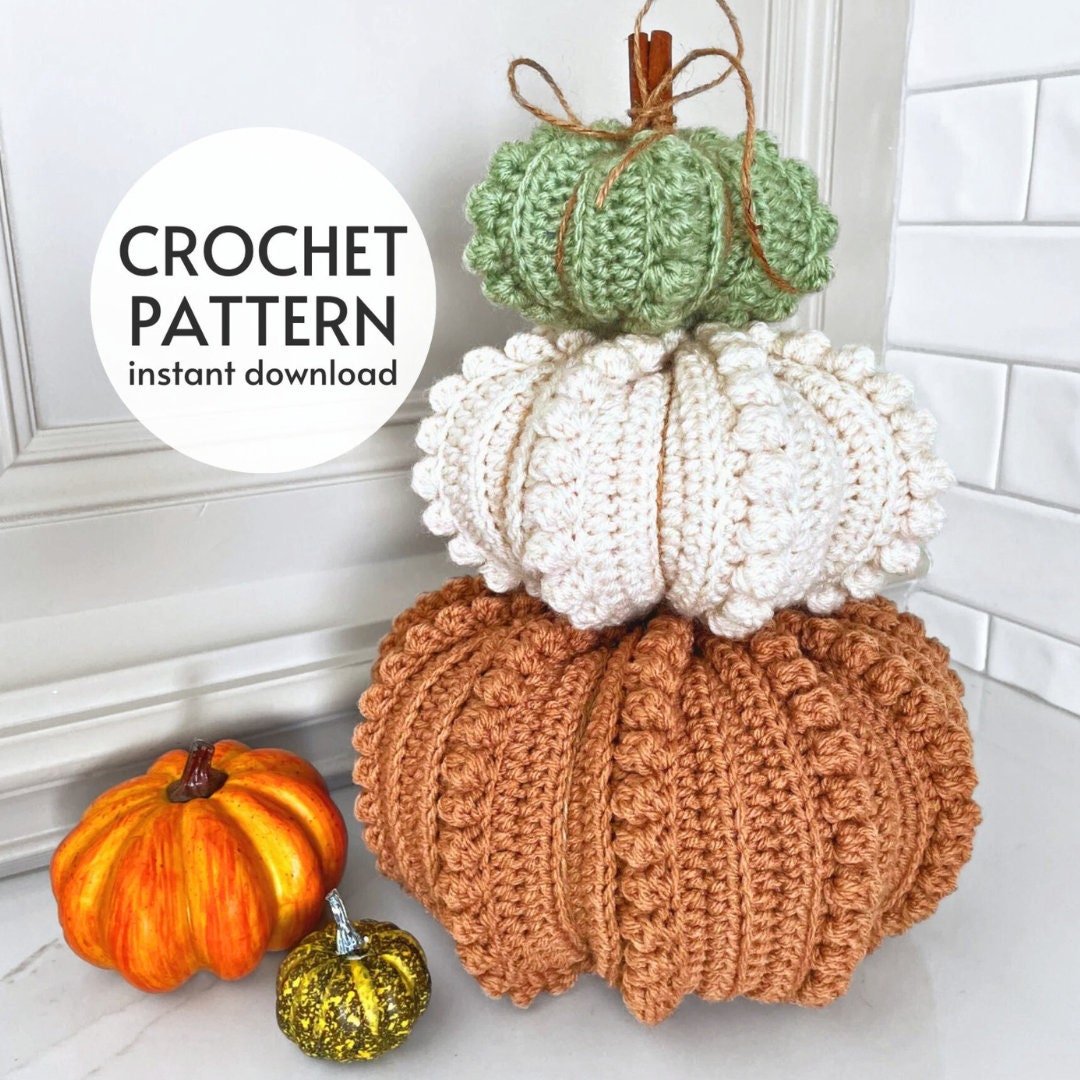
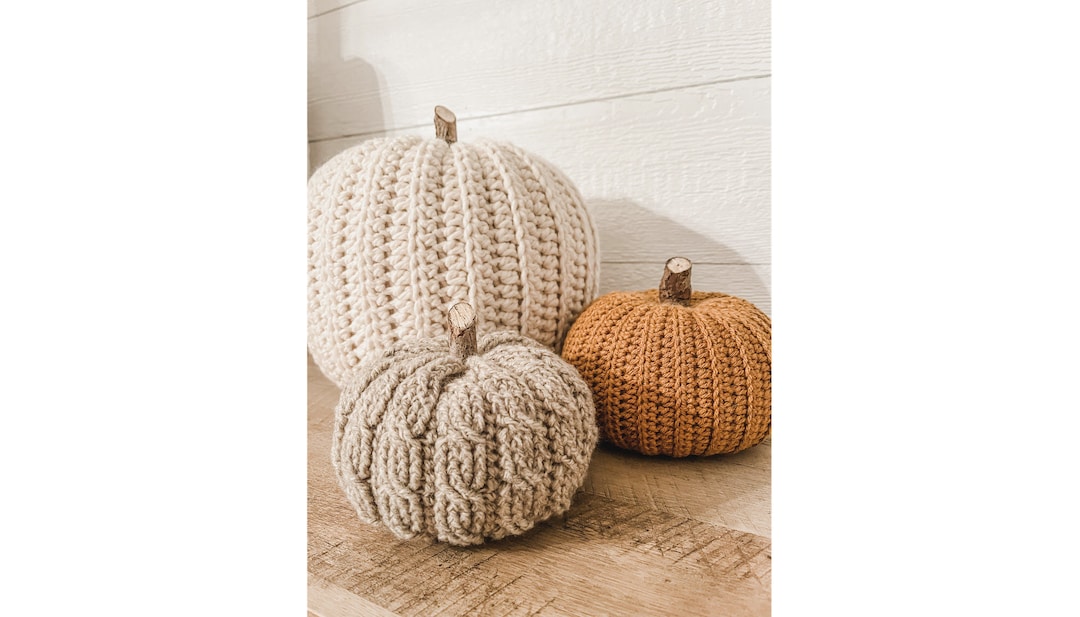
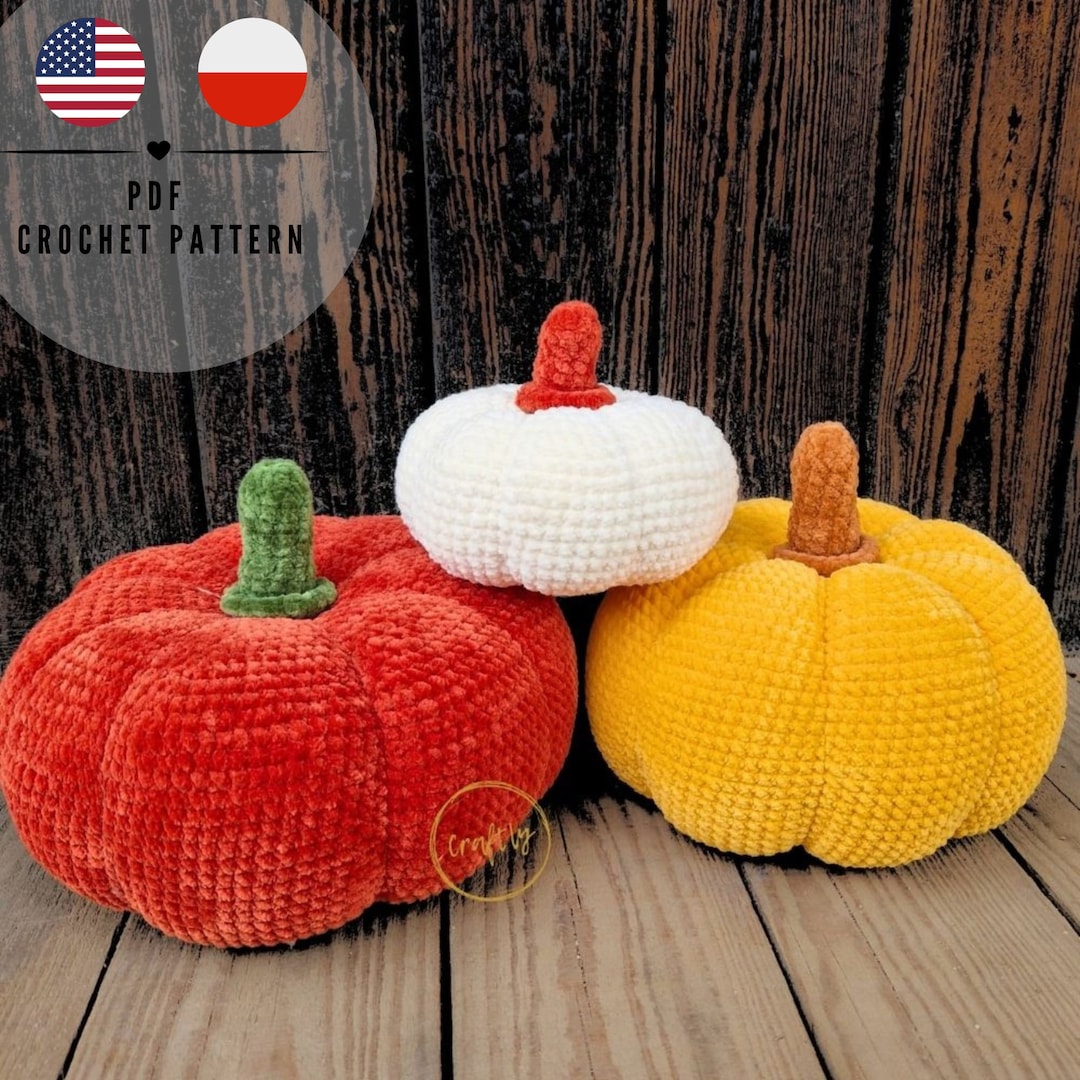
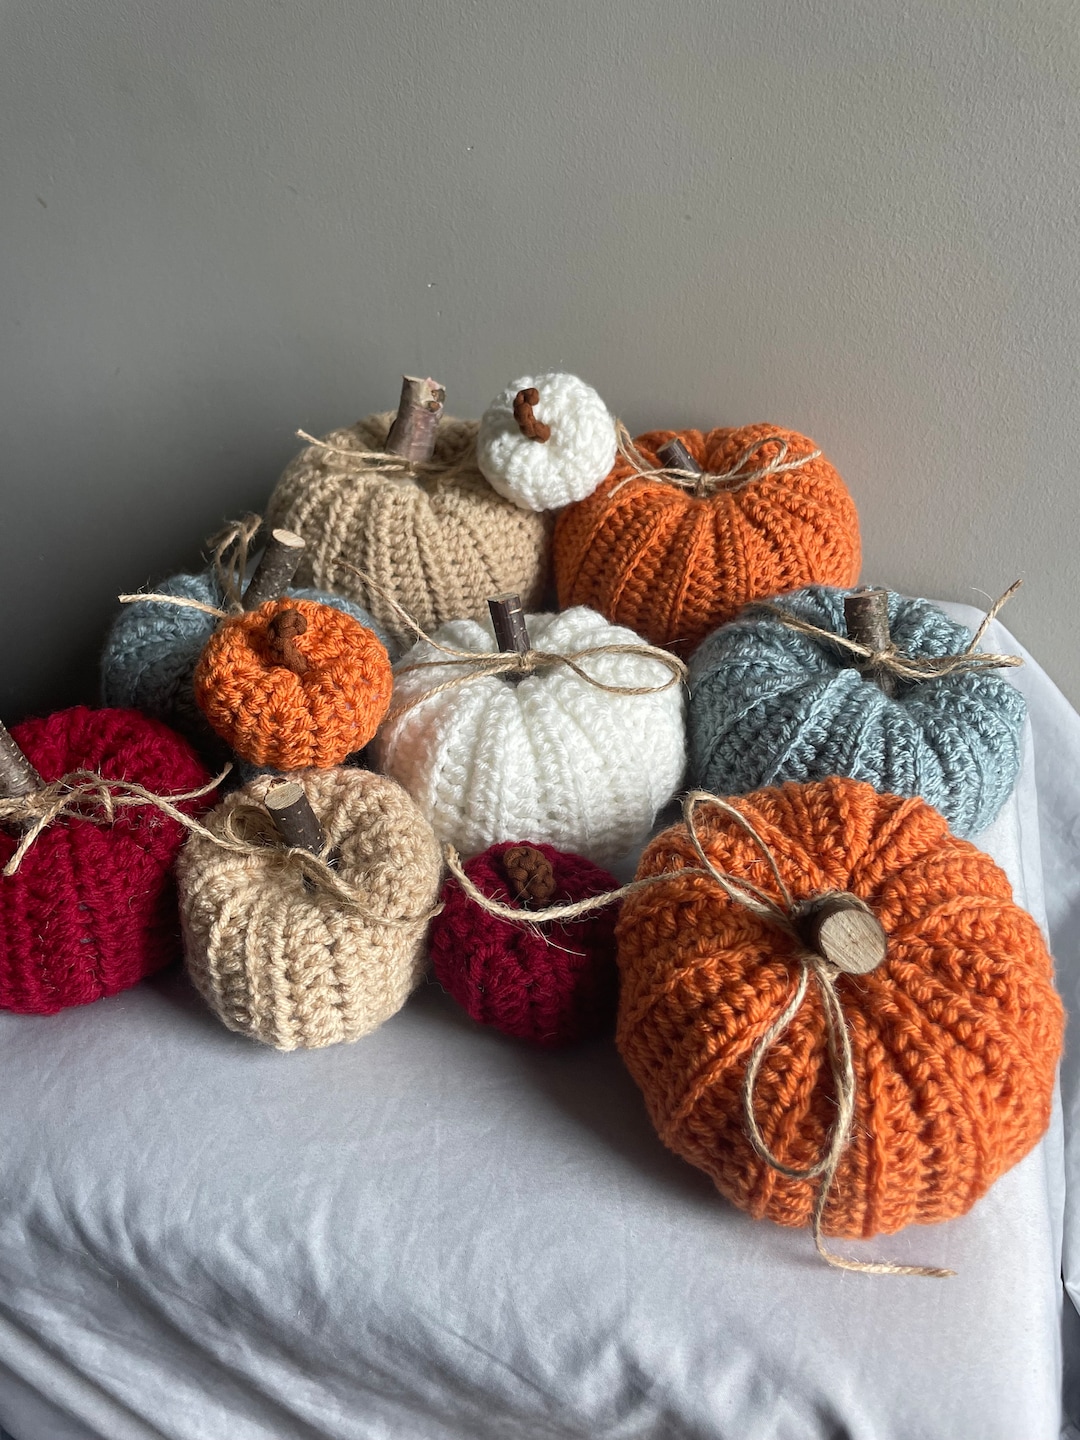
Crochet Pumpkin Inspiration
Fall is here, and there’s no better way to celebrate than by crocheting your own pumpkins! These adorable little gourds are perfect for decorating your home, adding a touch of handmade charm to your fall décor. Whether you’re new to crochet or a seasoned crafter, crochet pumpkins are a fun, simple project that can be customized in size, color, and texture. Here’s how you can make your own, plus creative ideas for how to use them in your home.
note this post contains affiliate links
Crochet Pumpkin Tutorial
Materials You’ll Need:
- Yarn: Choose medium-weight yarn in fall colors like orange, mustard yellow, deep green, or creamy white.
- Crochet Hook: Size G (4.0mm) or H (5.0mm) depending on your yarn.
- Stuffing: Polyfill or scrap yarn for filling the pumpkins.
- Tapestry Needle: For sewing your pumpkin together and weaving in ends.
- Scissors: To cut yarn.
- Sticks or cinnamon sticks: For the pumpkin stems.
Basic Crochet Pumpkin Pattern:
Step 1: Create the Body of the Pumpkin
- Start with a chain: Make a slip knot and chain 16 (for a small pumpkin). You can adjust the size by chaining more or fewer stitches.
- Row 1: Single crochet (SC) in the second chain from the hook and in each chain across. Turn your work.
- Row 2-28: Chain 1, SC in each stitch across, turn. Continue until your piece is a rectangle (about twice as wide as tall).
- Finish the rectangle: Once you’ve reached your desired size, fasten off, leaving a long tail for sewing.
Step 2: Assemble the Pumpkin
- Sew the side seam: Fold your rectangle in half and use your long tail to sew the two short edges together. This will create a tube.
- Gather one end: Use your yarn needle to sew around the bottom edge of the tube. Pull tightly to gather and close the hole.
- Stuff the pumpkin: Fill your pumpkin with polyfill or yarn scraps. Add enough to give it shape, but don’t overstuff.
- Close the top: Sew around the top edge and pull tight, just like you did for the bottom. Before fully closing, insert your stem (stick or cinnamon stick), then pull the yarn tightly to secure it.
Step 3: Shape the Pumpkin
- Add ridges: Use a long piece of yarn to go up and over the pumpkin, pulling tightly to create indentations. Go around the pumpkin 5-7 times, shaping it to resemble natural ridges.
And that’s it! You now have a cute crochet pumpkin ready to display.

Decorating Your Home with Crochet Pumpkins

Now that you’ve crocheted some pumpkins, here are some ideas on how to use them to decorate your home this fall:
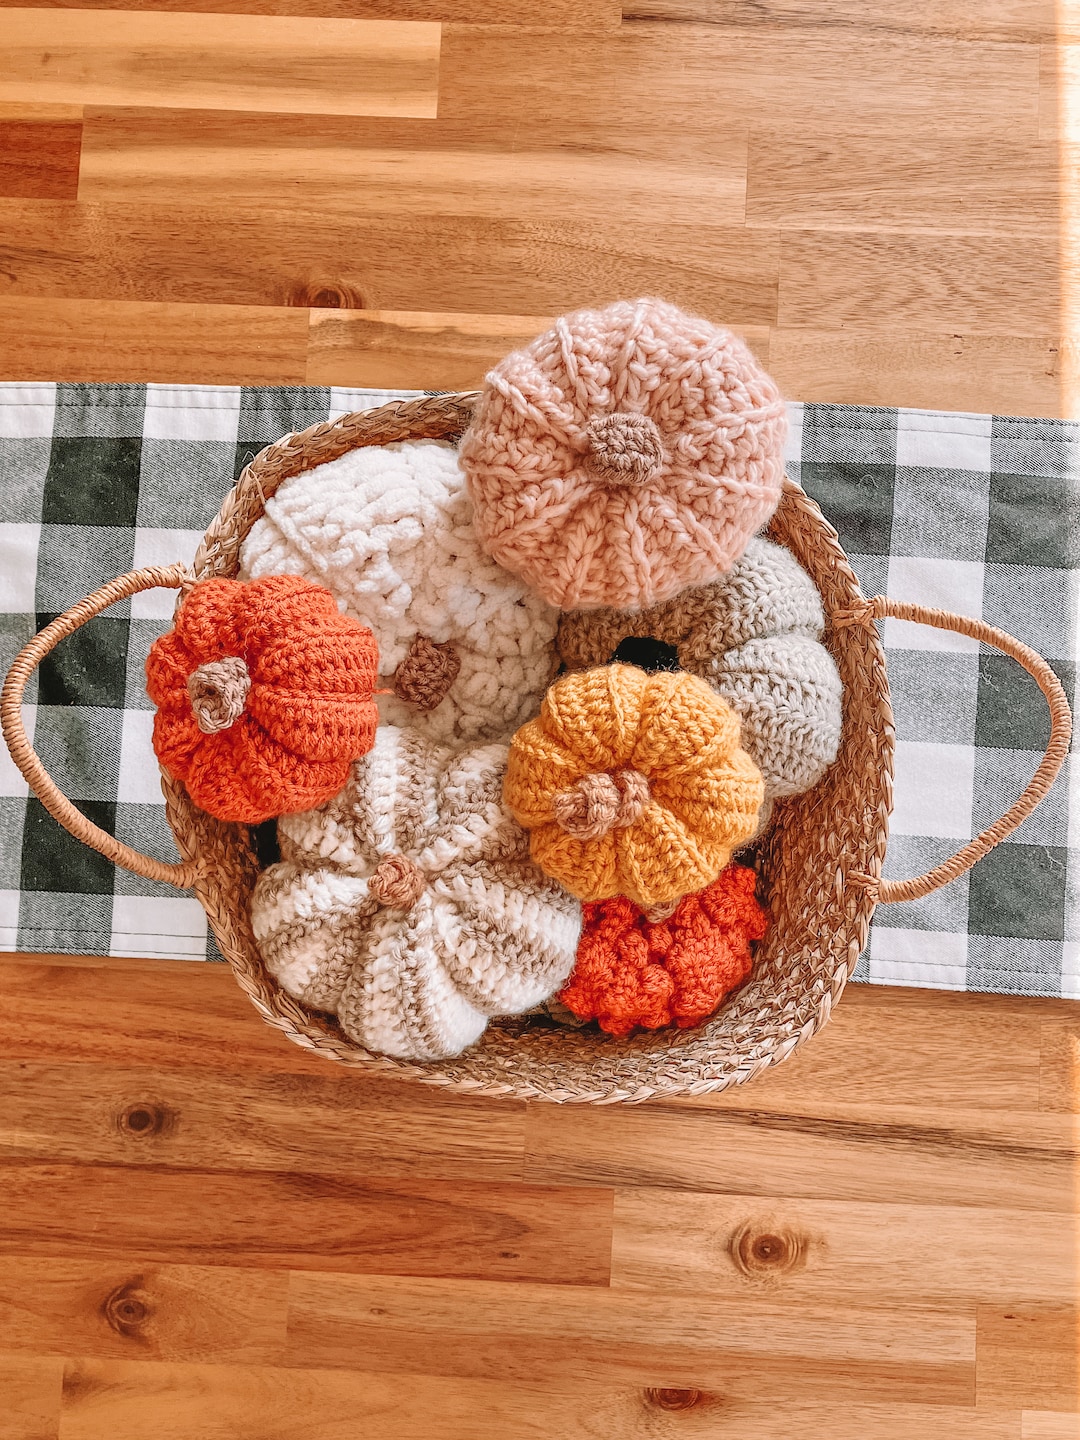
1. Create a Pumpkin Centerpiece
Gather several pumpkins of different sizes and colors, and place them in a large decorative bowl or basket. Add some faux autumn leaves, pinecones, or acorns to complete the look. This makes a stunning table centerpiece for Thanksgiving or fall gatherings.


2. Scatter Pumpkins Around Your Home
Small crochet pumpkins can be scattered throughout your home for pops of autumn color. Place them on bookshelves, coffee tables, side tables, or on your mantel. You can even use them in your kitchen as part of a seasonal display with other fall-themed décor items like candles and gourds.
3. Use Pumpkins as Place Settings
For a personal touch at your fall dinner parties, use mini crochet pumpkins as place settings. Attach name tags to the stems, or simply place one on each plate for a cozy, handmade vibe that your guests will love.
4. Incorporate Pumpkins into a Wreath
Add your crochet pumpkins to a DIY fall wreath. Use a hot glue gun to attach them to a grapevine or foam wreath form, along with some faux leaves, berries, and ribbons. Hang your pumpkin wreath on your front door for a welcoming seasonal touch.
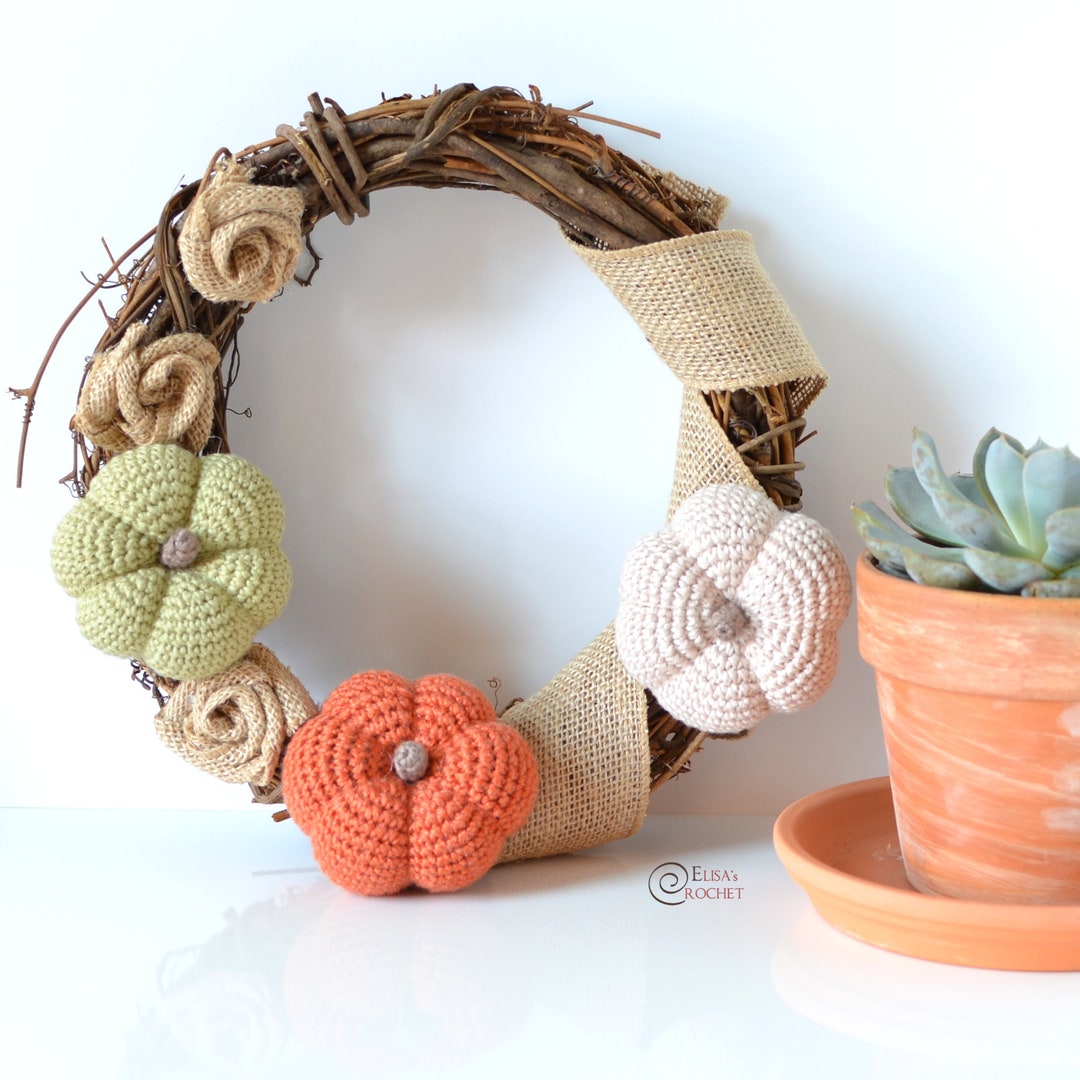
CROCHET PATTERN PUMPKIN Wreath / Amigurumi / Home Decor / Fall / Autumn / Pumpkin / Easy Instructions
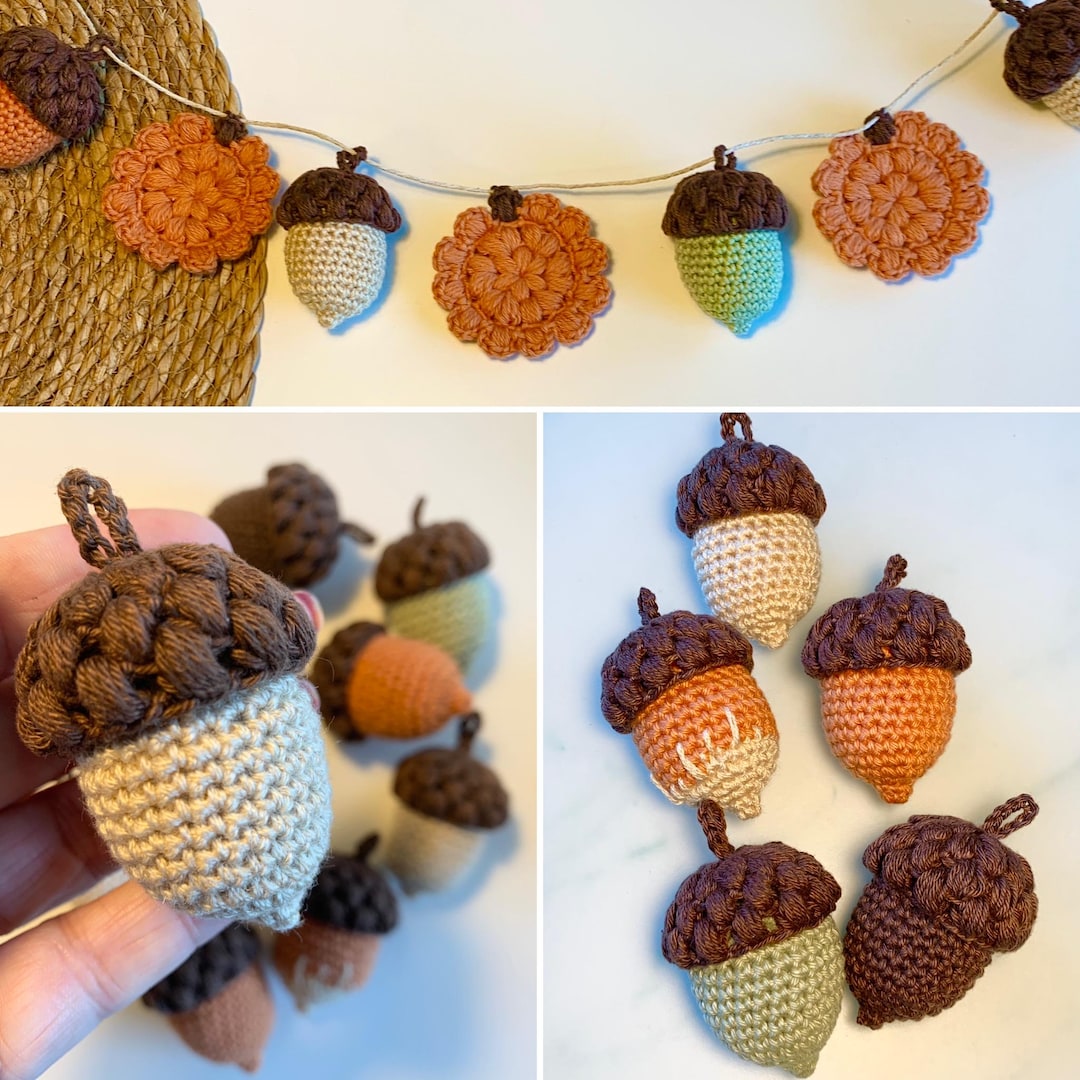
5. Pumpkin Garland
String a few small pumpkins together with twine to create a fall garland. Drape it across your mantel, window, or staircase railing. This adds a whimsical touch to any space and makes for a unique decoration.
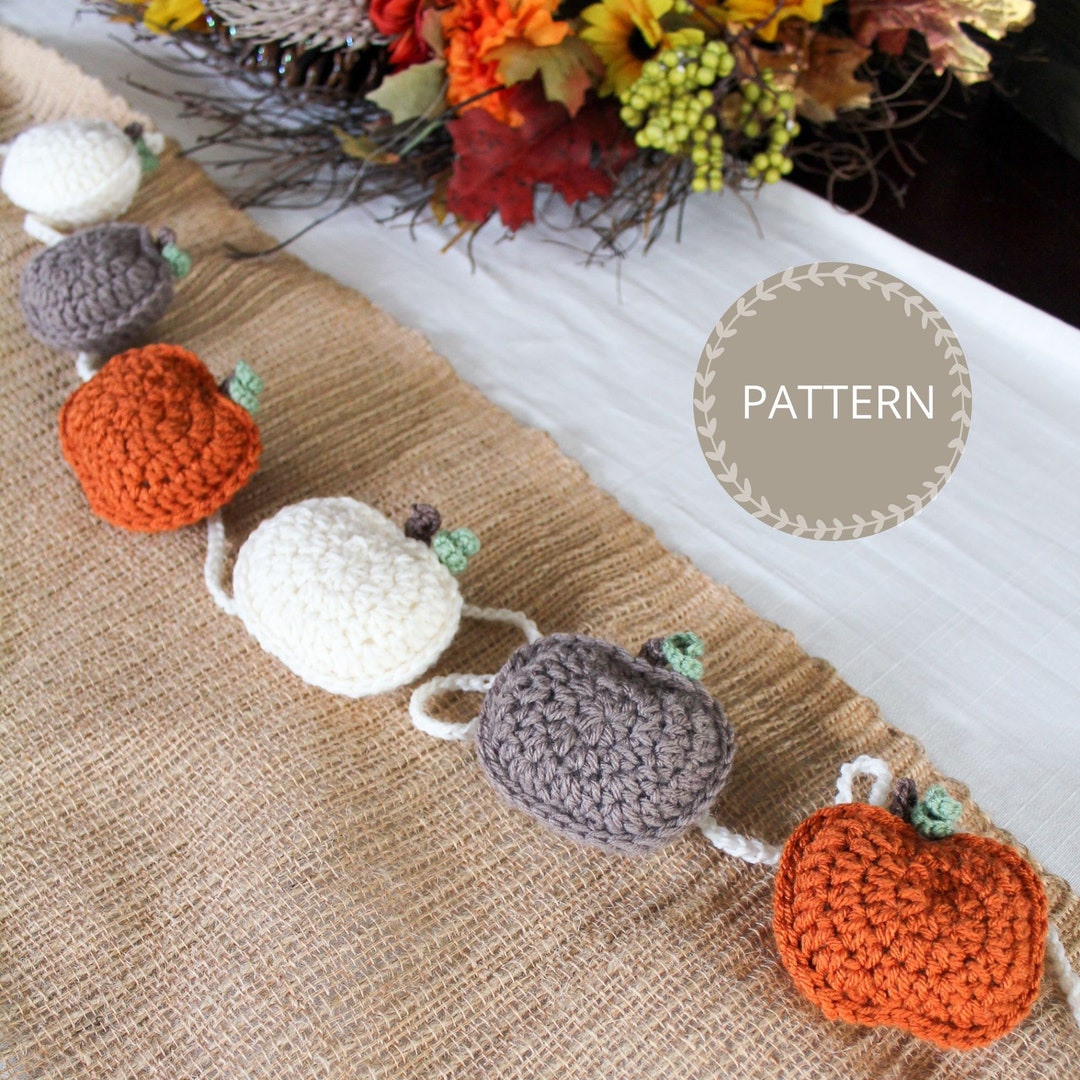
Crochet Pumpkin Pattern, Crochet Pumpkin Garland
6. Mix Pumpkins with Fall Florals
Create a stunning fall display by mixing your crochet pumpkins with faux florals. Use a glass hurricane vase or wooden box, and add dried flowers, wheat stalks, or twigs along with your pumpkins for a rustic look that feels like autumn indoors.
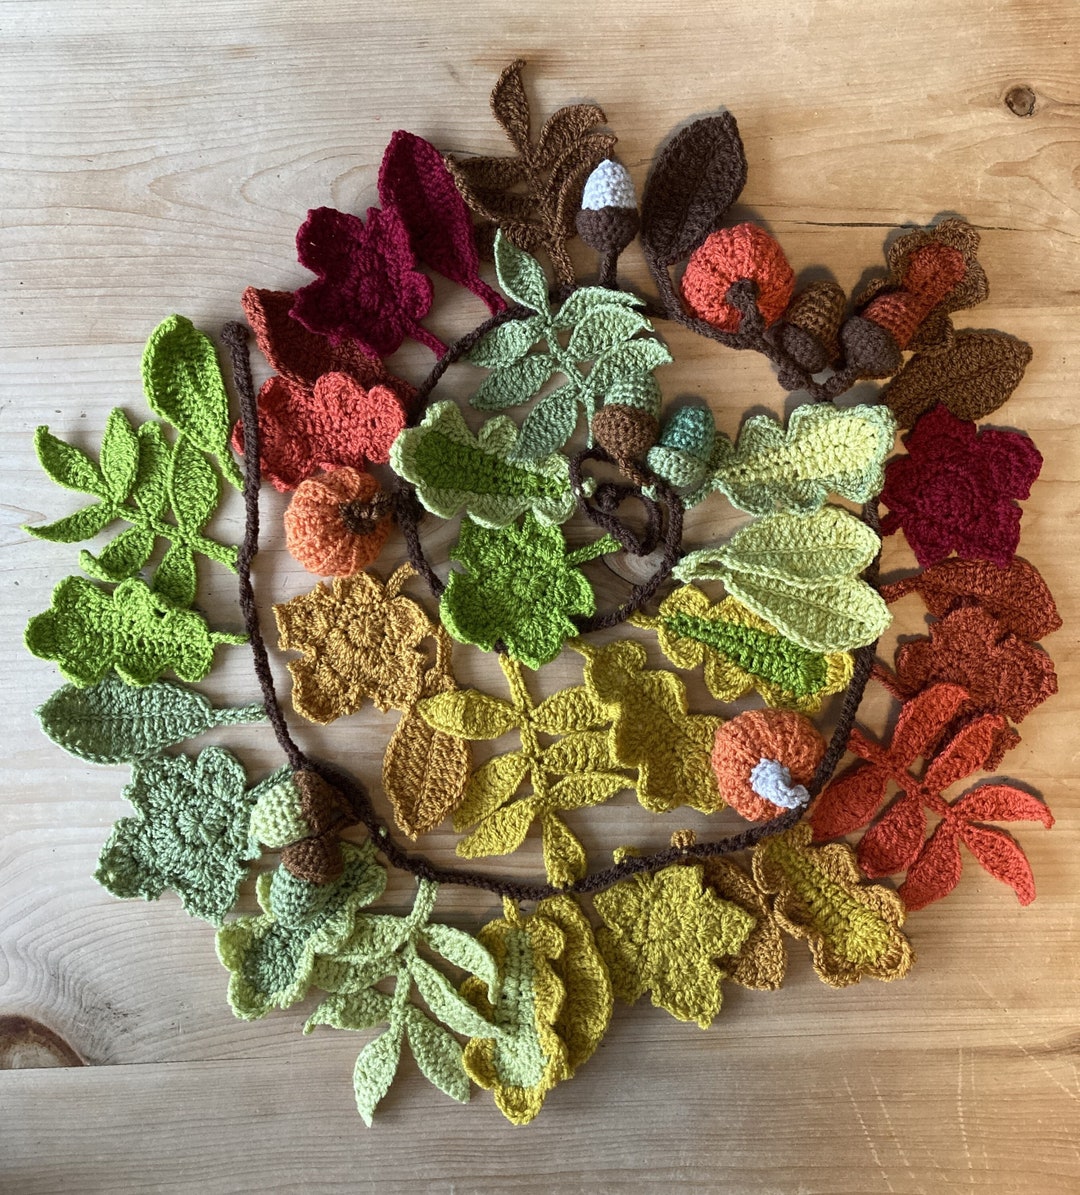
Autumn Fall Garland Crochet Autumn Leaves Leaf Pattern
Customize Your Pumpkins

Crochet pumpkins are highly customizable! Try these ideas:
- Play with textures: Use different yarn textures like velvet, chunky, or variegated yarn to give your pumpkins a unique look.
- Add embellishments: Sew on buttons, embroider designs, or add bows and twine to the stems for extra detail.
- Make them scented: Add a few drops of cinnamon or pumpkin spice essential oil to your stuffing for a delicious fall scent.
Crocheting pumpkins is a simple and enjoyable way to embrace fall crafting. With endless ways to personalize and display them, your home will feel cozy and ready for the season in no time. Grab your crochet hook, and start creating your own pumpkin patch today!

