

A Free Pattern Idea for a Bunny Oven Mitt Potholder
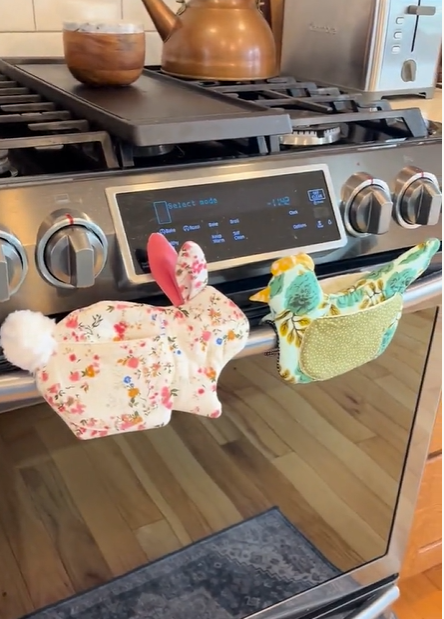
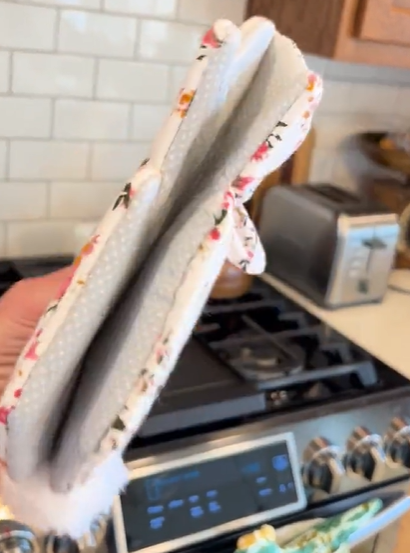
The bunny-shaped oven mitt is basically a quilted mitt with a rabbit silhouette—big round body, two upright ears, a little belly patch, and a pom-pom tail—so it can stand/sit on the counter like a decoration and still be heat-proof. The most widely shared pattern right now is the Betsy Bunny Oven Mitt (by Sew Fine in Winona), and makers on Facebook/Instagram show it finished in lots of fabrics, with the bunny “sitting” on the counter next to a tray of muffins.
note this post contains affiliate links
What the Finished Bunny Mitts Look Like
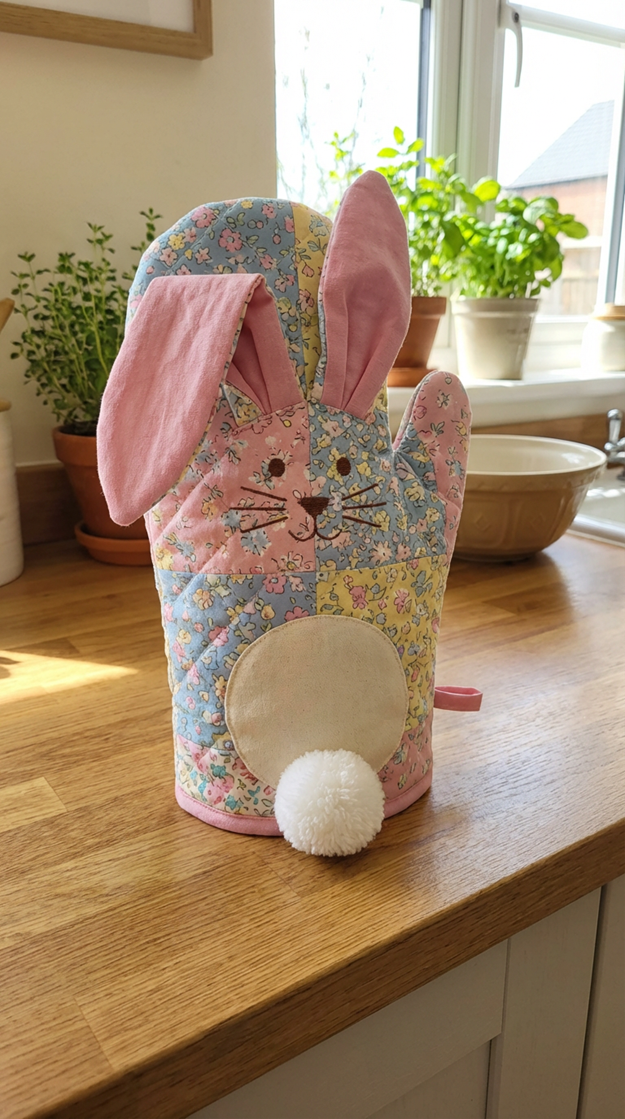
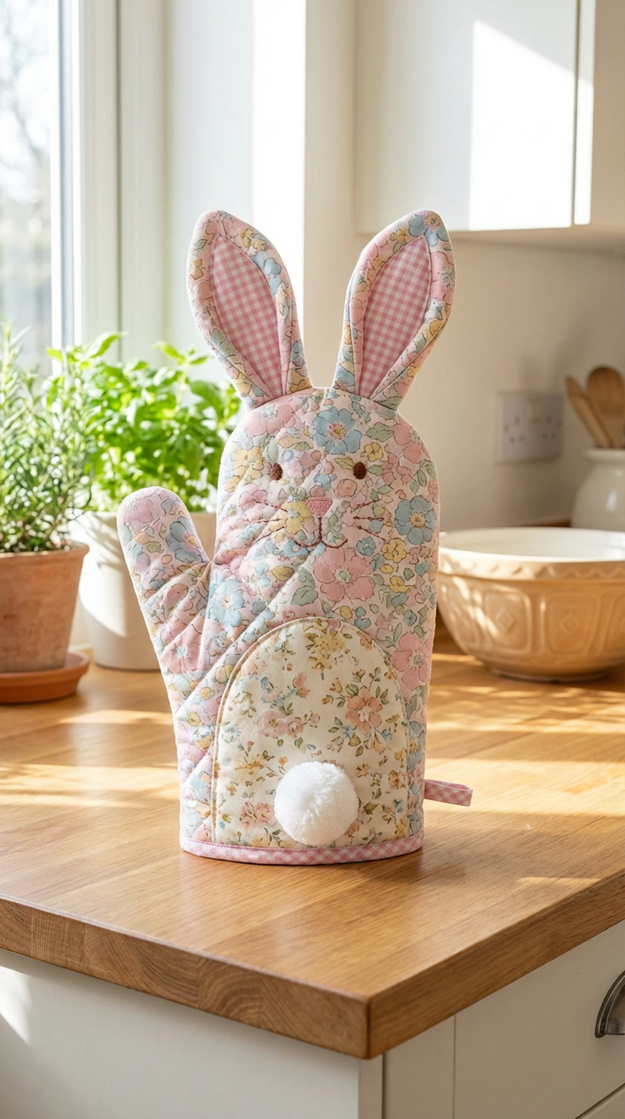
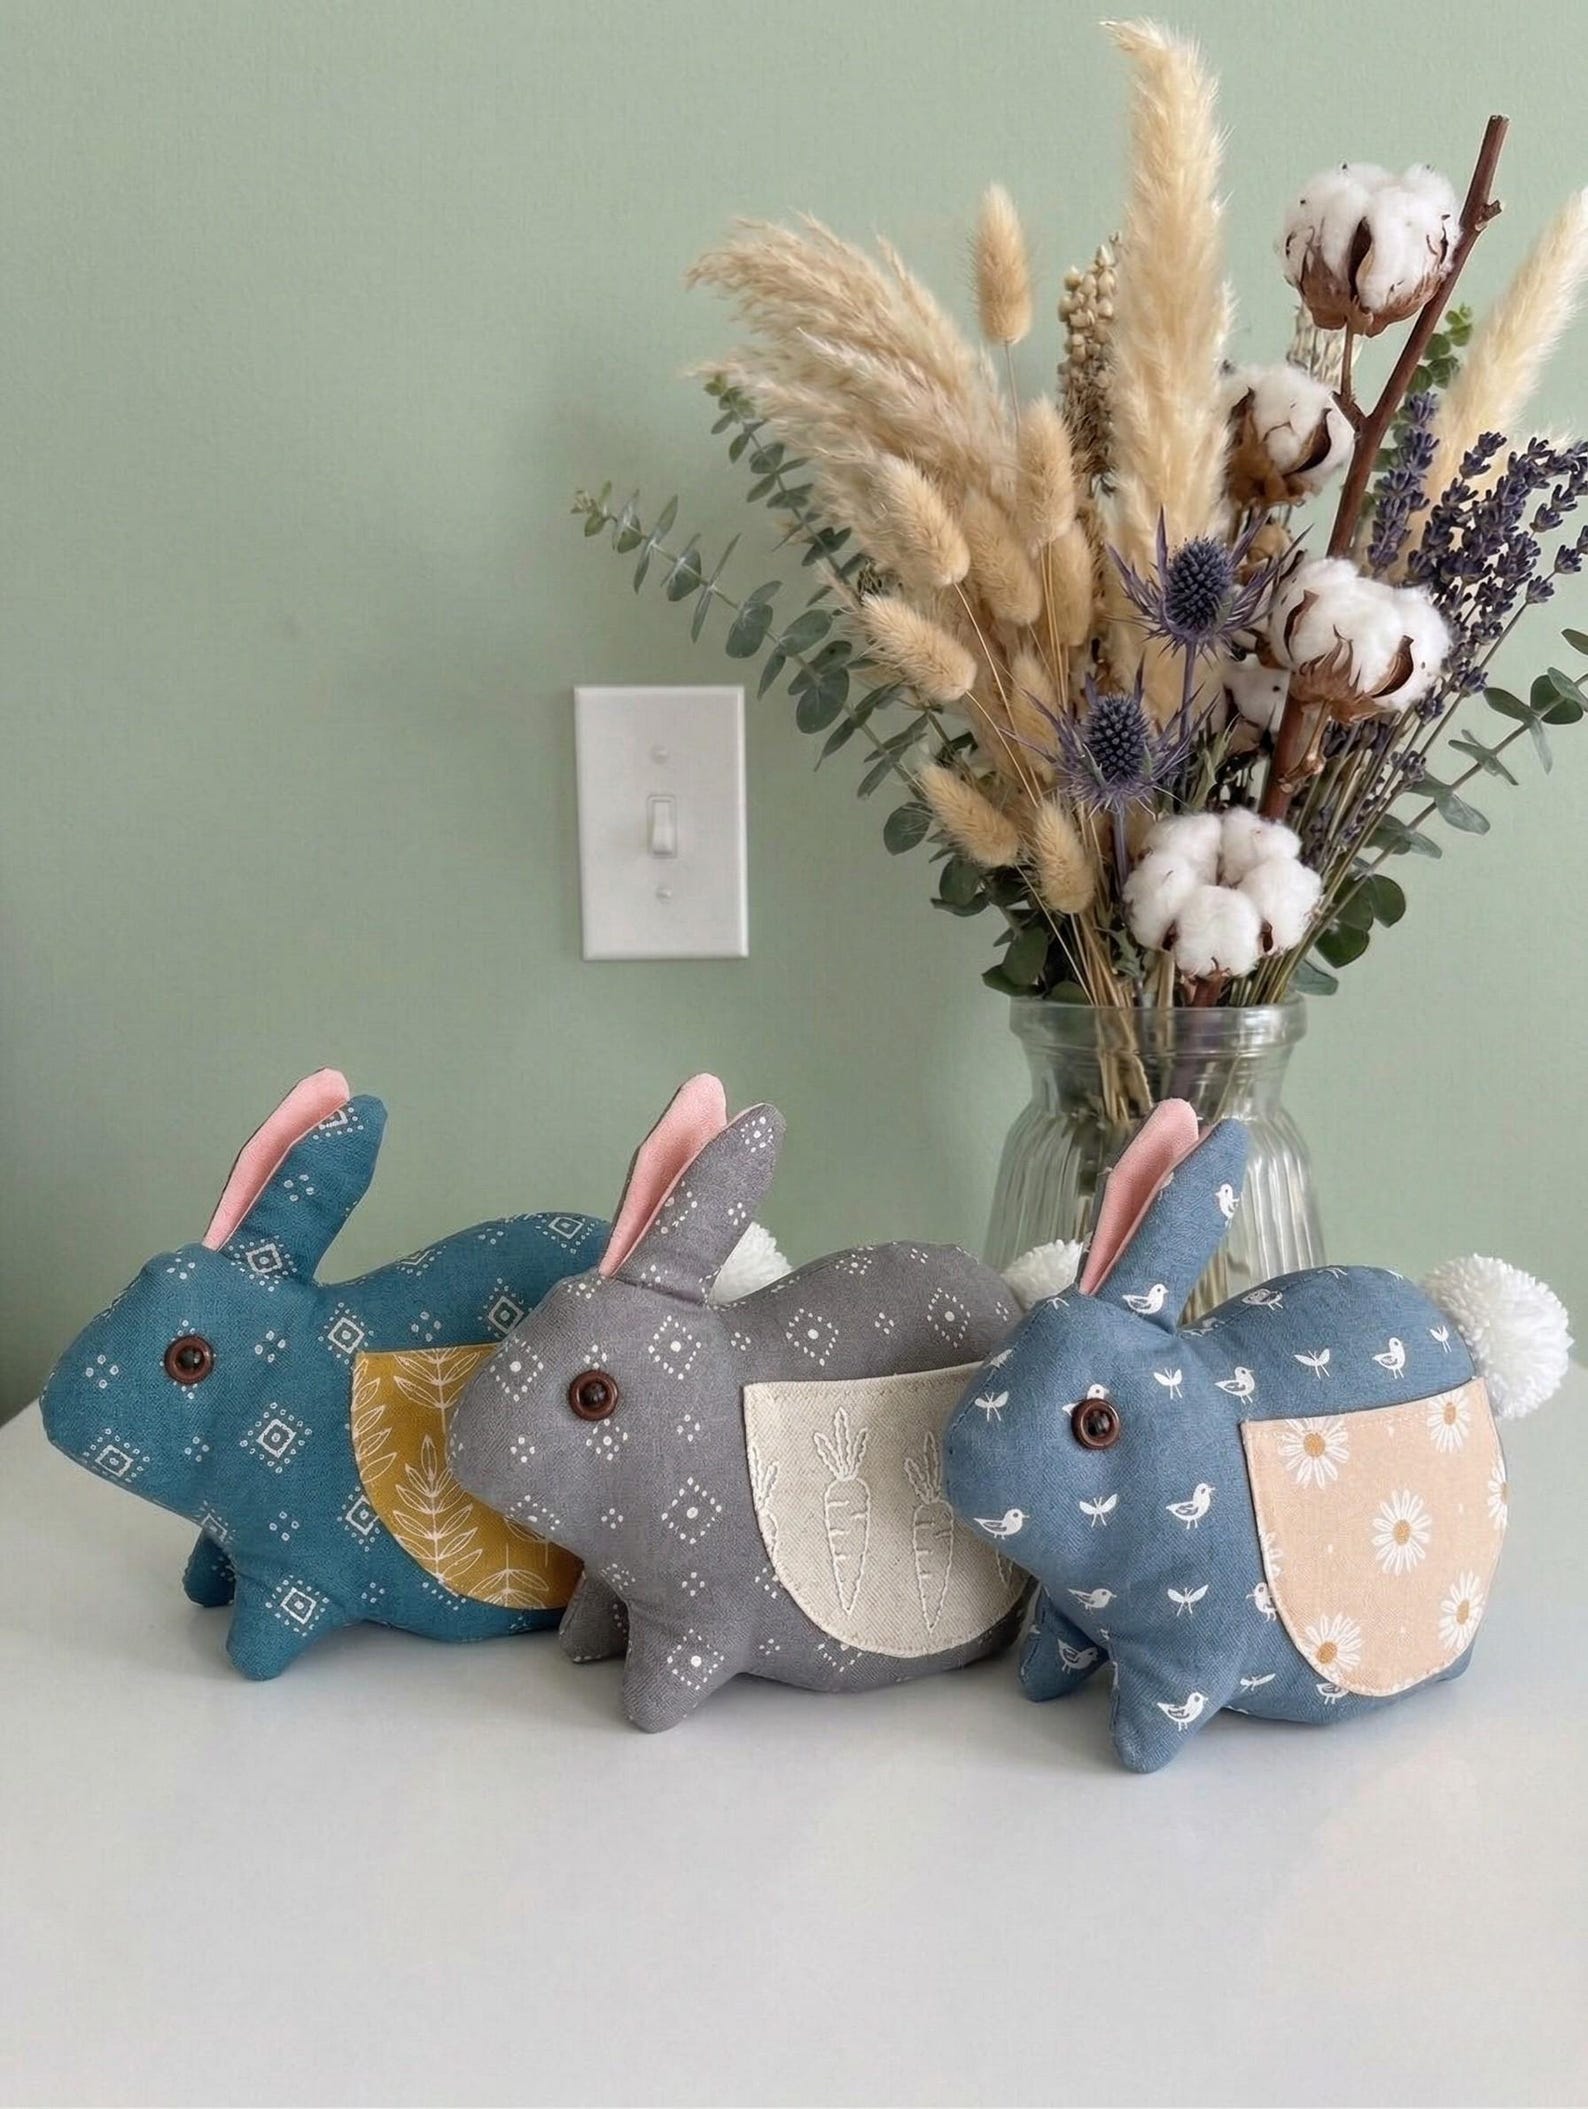
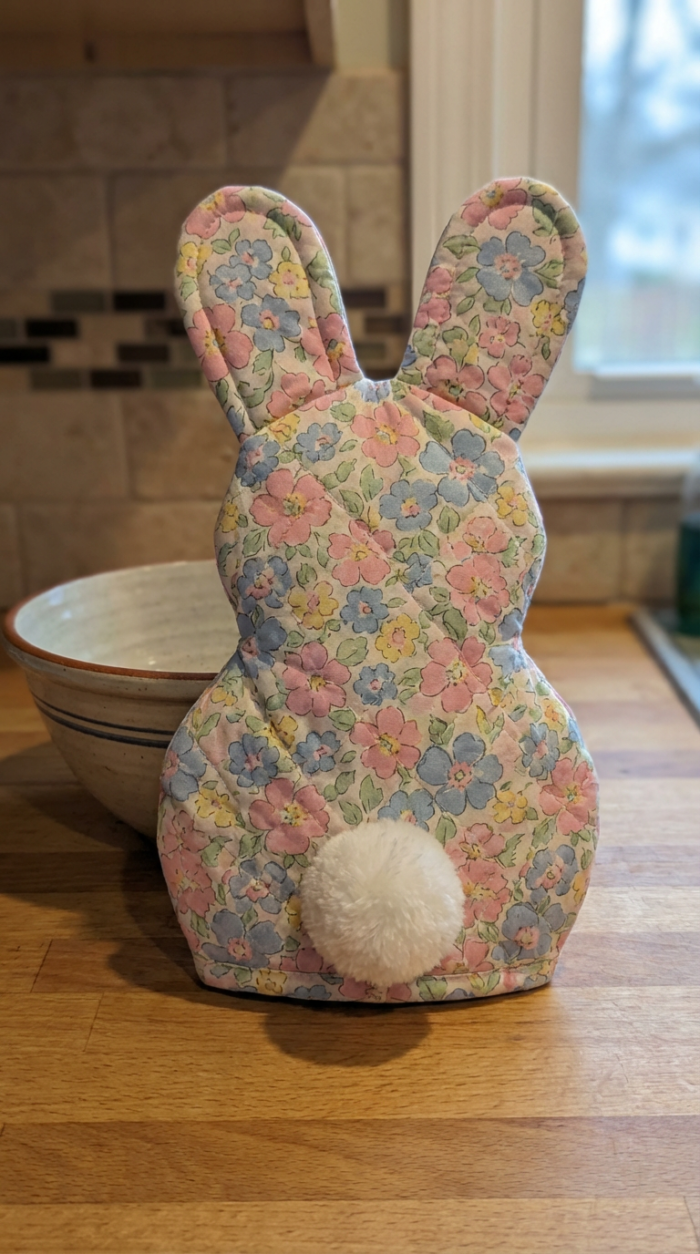
- A mitt-shaped body (∼10 in wide × 8 in tall) that looks like a bunny from the back: rounded body, two ears sticking up, a contrasting “underbelly” patch, and a white pom-pom tail. The ears can be positioned upright or folded for a lop-eared version.
- It’s fully functional (heat-resistant layers inside) but designed to sit upright on the counter as kitchen décor.
Drafting the pattern for Your Own Oven Mitt


If you want to draw it yourself, start with a standard adult oven-mitt outline and add bunny features:
- Main body piece (cut 2 mirrored + 2 mirrored lining): trace a generous mitt shape (about 10 × 8 in finished). Round the top a bit more than a normal mitt so it reads as a bunny back.
- Ear piece (cut 4: 2 outer, 2 contrast inner): a long oval ∼5–6 in tall, 2–2.5 in wide, slightly tapered at the tip. You’ll sew an outer ear and a contrast inner ear together, then attach at the top edge of the body.
- Belly patch (cut 1): a rounded oval ∼3–4 in, placed on the lower front of the body.
- Tail: a 1.5 in pom-pom (store-bought or made from terry cloth).
If you’d rather skip drafting, the Betsy Bunny PDF gives you printable pieces + step-by-step photos and a video tutorial link; creators also share that the pattern includes both the mitt and instructions for the ears/tail.
Check out More Oven Mitt Potholder Sewing Patterns Here…
Materials (for 2 mitts)
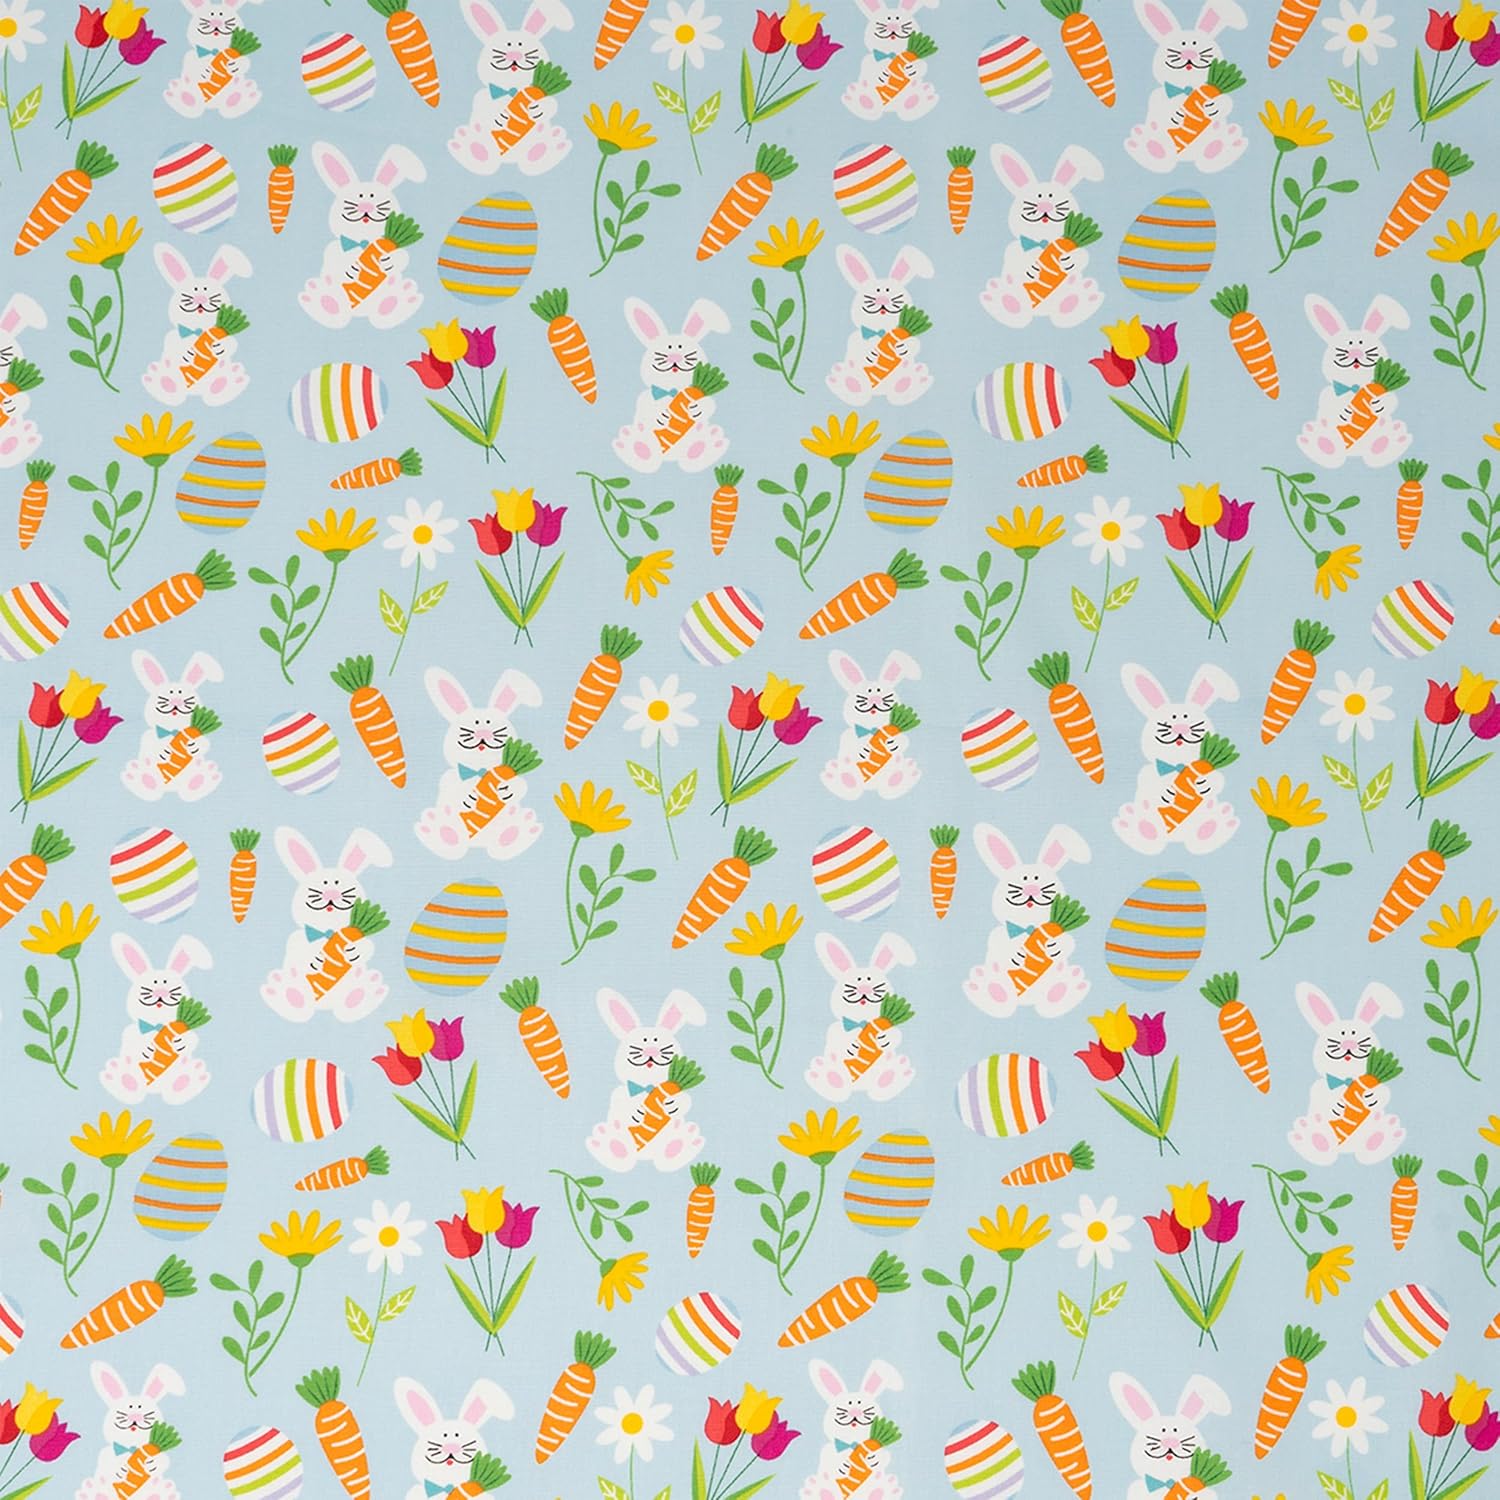
- ¼ yd each of three 100% cotton fabrics (main body, ear contrast, underbelly)
- ¼ yd Insul-Bright insulated batting (heat-resistant layer)
- Optional: cotton batting to quilt your own “pre-quilted” fabric, or buy pre-quilted cotton
- Matching all-purpose thread, a 1.5 in pom-pom for the tail, and a small fabric strip for a hanging loop (optional).
Construct the Oven Mitt

- Quilt the exterior: layer main fabric (right side up) + Insul-Bright (+ cotton batting if you’re making your own quilted fabric). Quilt in a simple grid or follow the fabric’s print. Trim using your body pattern piece—remember to cut mirrored pairs.
- Assemble ears: sew outer + contrast inner ear right sides together, leave the base open, turn, press. Topstitch if you like.
- Add belly patch: appliqué the belly oval onto one exterior body piece.
- Attach ears & tail: baste the ears to the top edge of the exterior body (between the layers), and the pom-pom tail to the lower back.
- Make the mitt sandwich: layer exterior (right side up), lining (right side down) on each side, sew the top edge, then put the two sides right sides together, sew around the perimeter leaving the bottom open (and a small turning gap in the lining). Clip curves, turn, press, close the gap.
- The finished bunny sits upright on the counter—tail at the back, ears up, belly forward—ready to grab hot trays.
It’s a beginner-friendly project (the Etsy listing calls it great for confident beginners), and the video that comes with the pattern walks through the tricky bits like turning the thumb and attaching the ears.
If you want a free starting point for a basic mitt shape to modify, the AppleGreen Cottage free oven-mitt pattern (adult size 12½ × 7 in) gives you a good base to draw your bunny silhouette on . Then just add the ear/belly/tail pieces above. Happy sewing!
Printable Cutout You Can Use as a Starting Template
Here’s a simple printable cutout you can use as a starting template (1-inch grid, print at 100% scale, then trace onto fabric). It includes the main body (cut 2 mirrored + 2 lining), two ear shapes (cut 4 total: 2 outer + 2 contrast), and the belly patch.
How to use it:
- Print the PDF at 100% (no scaling).
- Cut out the body, ear, and belly pieces.
- For the mitt: cut 2 mirrored body pieces from exterior fabric, 2 mirrored from lining, and 2 from Insul-Bright (or quilt your own sandwich).
- Ears: cut 2 outer + 2 contrast inner (mirror one of each so you have left/right).
- Belly: cut 1 from contrast fabric and appliqué to the front body piece.
- Add a 1.5 in pom-pom tail, baste ears at the top edge, and assemble the mitt as described earlier.
If you want the full professional pattern with seam allowances and step-by-step photos/video, the “Betsy Bunny Oven Mitt” PDF (the one makers on Facebook/Instagram are using) is available as an instant download.
Check out More Oven Mitt Potholder Sewing Patterns Here…
- Knit a Stunning Sampler Cardigan with This Unique Downloadable Pattern
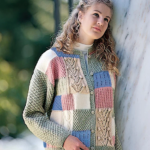 Knitting a Sweater in Unique Colors If you’re looking for a knitting project that combines creativity, color, and timeless style, the Sampler Cardigan Pattern may […] Read More
 - Adorable Crochet Baby Loveys You’ll Love Making: Liam the Lamb & Ella the Elephant
 Crochet Lovey Patterns There’s something extra special about handmade crochet baby loveys. They’re soft, comforting, adorable, and often become treasured keepsakes for little ones. If […] Read More
 - A Beautiful Baby Blanket Filled With Heartwarming Charm
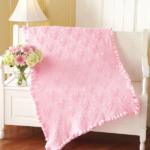 Elegant Hearts Baby Blanket Crochet Kit The Elegant Hearts Baby Blanket features a delicate and timeless design that looks stunning in any nursery. The soft […] Read More
 - Crochet the Sweetest Baby Blanket – Easy Kit with Lacy Border
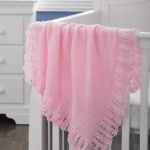 Easy Baby Blanket to Crochet Shop Baby Blanket Crochet Kits Find Baby Blanket Crochet Patterns Baby Yarn If you’re looking for a soft, lightweight baby […] Read More
 - How to Make a Simple Potholder Free Sewing Pattern
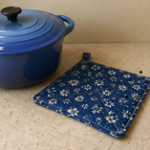 Easy to Sew Potholder Pattern Here’s an easy project for beginners and advanced sewing enthusiasts to make. A potholder is a quick and easy way […] Read More