Size: Woman
Finished Foot Circumference: 7″ (18 cm)
Finished Foot Length: 91/2” (24 cm)
Size Note: These socks can easily be made to fit children ages 10-12 by making the foot length shorter.
MATERIALS
Super Fine Weight Yarn
[1.75 ounces, 191 yards (50 grams, 175 meters) per hank]:
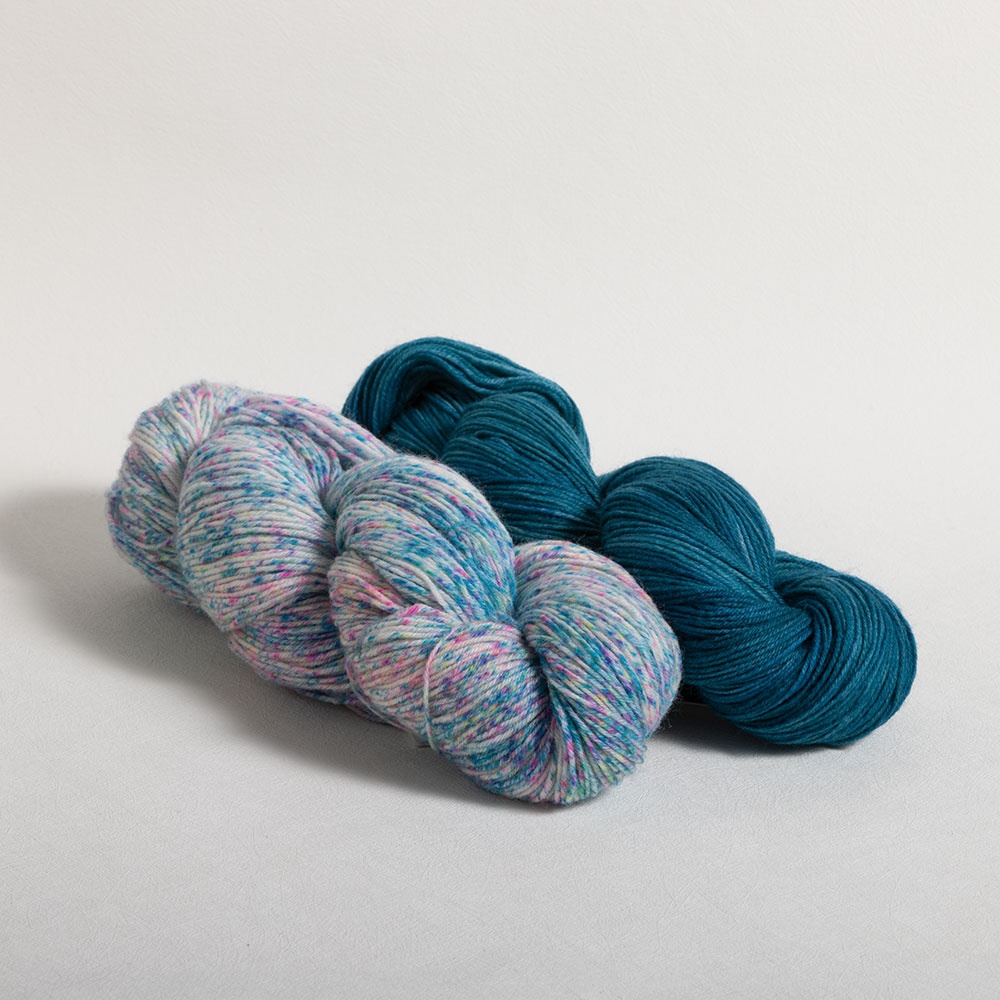
A (Red multi) – 2 hanks
B (Yellow) – 1 hank
Set of 4 double pointed knitting needles, size 2 (2.75 mm) or size needed for gauge
Split-ring marker
Tapestry needle
GAUGE:
In Tweed Stitch,16 sts and 30 rnds = 2″ (5 cm)
in Stockinette Stitch,16 sts and 23 rnds = 2″ (5 cm)
Take the time to check your gauge.
Techniques used:
KNIT 2 TOGETHER
(abbreviated K2 tog)
Insert the right hand needle into the front of the first two stitches on the left hand needle as if to knit (Fig. 1), then knit them together as if they were one stitch.
Fig. 1

SLIP, SLIP, KNIT
(abbreviated SSK)
Separately slip two stitches as if to knit (Fig. 2A). Insert the left hand needle into the front of both slipped stitches (Fig. 2B) and knit them together as if they were one stitch (Fig. 2C).
Fig. 2

PURL 2 TOGETHER
(abbreviated P2 tog)
Insert the right hand needle into the front of the first two stitches on the left hand needle as if to purl (Fig. 3), then purl them together as if they were one stitch.

Leisure Arts Knit Socks For Those You Love Book
Fig 3.
CUFF
With A, cast on 56 sts loosely.
Divide stitches onto 3 needles, arranged 19-18-19.
Place a marker around the first stitch and join for working in the round, being careful not to twist stitches(see Figs. 5 a and b, DOUBLE POINTED KNITTING NEEDLES).
Work in K1, P1 ribbing until Sock measures 11/2” (4 cm) from cast on edge.
LEG
When instructed to slip a stitch, slip purlwise with yarn in back, unless otherwise specified.
Rnd 1: Knit around.
Rnds 2 and 3: With B,  slip 1, K3; repeat from around.
Rnd 4: With A, K2, slip 1, K3, slip 1; repeat from around to last st, K1.
Rnd 5: With A, K2, P1, K3, P1; repeat from around to last st, K1.
Rnds 6 and 7: With B, K2, slip 1, K3, slip 1; repeat from around to last st, K1.
Rnd 8: With A, slip 1, K3; repeat from around.
Rnd 9: With A, P1, K3; repeat from around.
Repeat Rnds 2-9 for Tweed Stitch until Sock measures approximately 6″(15 cm) from cast on edge, ending by working an odd numbered round.
Cut B.
HEEL
Dividing Row: Knit across Needle 1, with same needle, knit 9 sts from Needle 2; slip remaining sts from Needle 2 onto Needle 3 and leave these 28 sts unworked for Instep.
The Heel Flap will be worked back and forth in rows across the first 28 stitches.
HEEL FLAP
Row 1 (Wrong side): Slip 1 purlwise with yarn in front, purl across; turn.
Row 2: Slip 1 purlwise with yarn in back, K1; repeat from across; turn.
Repeat Rows 1 and 2, 13 times.
HEEL TURNING
Begin working in short rows as follows:
Row 1 (Wrong side): P 16, P2 tog, P1, leave remaining 9 sts unworked; turn.
Continuing to slip the first stitch holding yarn to wrong side, slip knitwise on all right side rows and purlwise on all wrong side rows.
Row 2: Slip 1, K5, SSK, K1; turn.
Row 3: Slip 1, P6, P2 tog, P1; turn.
Row 4: Slip 1, K7, SSK, K1; turn.
Row 5: Slip 1, P8, P2 tog, P1; turn.
Row 6: Slip 1, K9, SSK, K1; turn.
Row 7: Slip 1, P 10, P2 tog, P1; turn.
Row 8: Slip 1, K 11, SSK, K1; turn.
Row 9: Slip 1, P 12, P2 tog, P1; turn.
Row 10: Slip 1, K 13, SSK, K1; turn.
Row 11: Slip 1, P 14, P2 tog; turn.
Row 12: Slip 1, K 14, SSK:16 sts.
GUSSET
Rnd 1: With right side of Heel facing and using needle holding Heel sts (Needle 1), pick up 14 sts along edge of Heel Flap (Fig. 4, PICKING UP STITCHES), pick up one st in gap between Heel Flap and Instep; with empty needle, knit 28 Instep sts (Needle 2); with empty needle, pick up one st in gap between Instep and Heel Flap, pick up 14 sts along edge of Heel Flap, knit first 8 sts of Heel from Needle 1 (Needle 3), place marker around next st to indicate beginning of rnd: 74 sts, arranged 23-28-23.
Rnd 2 (Decrease rnd): On Needle 1, knit across needle to last 3 sts, K2 tog, K1; on Needle 2, knit across; on Needle 3, K1, SSK, knit across: 72 sts.
Rnd 3: Knit around.
Repeat Rnds 2 and 3, 8 times: 56 sts, arranged 14-28-14.
PICKING UP STITCHES
When instructed to pick up stitches, insert the needle from the front to the back under two strands at the edge of the worked piece (Fig. 4). Put the yarn around the needle as if to knit, then bring the needle with the yarn back through the stitch to the right side, resulting in a stitch on the needle. Repeat this along the edge, picking up the required number of stitches. A crochet hook may be helpful to pull yarn through.
Fig. 4

FOOT
Knit each round until Foot measures approximately 8″ (20.5 cm) from back of Heel, or about 11/2” (4 cm) shorter than desired length of Sock.
Note: The Foot length can be adjusted before beginning the toe. The length is measured from the back of the Heel, not the spot where the heel meets the gusset. To adjust the foot length, measure the total length of the foot that will be wearing the sock. Subtract the measurement given for the toe. Work the foot to this measurement.
TOE
Rnd 1 (Decrease rnd): On Needle 1, knit across needle to last 3 sts, K2 tog, K1; on Needle 2, K1, SSK, knit across needle to last 3 sts, K2 tog, K1; on Needle 3, K1, SSK, knit across: 52 sts.
Rnd 2: Knit around.
Repeat Rnds 1 and 2, 6 times: 28 sts.
Repeat Rnd 1 only, 4 times: 12 sts.
FINISHING
With Needle 3, knit sts from Needle 1: 6 sts on each needle.
With tapestry needle, graft Toe (See GRAFTING, Figs. 6a & b). Weave in ends.
General Instructions
DOUBLE POINTED KNITTING NEEDLES
Divide the stitches into thirds and slip one-third of the stitches onto each of 3 double pointed needles (Fig. 5a); form a triangle. With the fourth needle, knit across the stitches on the first needle (Fig. 5b). You will now have an empty needle with which to knit the stitches from the next needle. Work the first stitch of each needle firmly to prevent gaps.
Fig. 5

Place a marker around the first stitch to indicate the beginning of the round. You may use purchased split-ring markers or place a length of contrasting color yarn around the stitch. Move it up at the end of each round.
GRAFTING
Stitches to be woven are held on two knitting needles, with one behind the other and wrong sides together. Threaded tapestry needle should be on the right hand side of the work. Work in the following sequence, pulling yarn through as if to knit or as if to purl with even tension and keeping yarn under the points of the needles to avoid tangling and extra loops.
Step 1: Purl first stitch on front needle, leave on (Fig. 6a).
Step 2: Knit first stitch on back needle, leave on (Fig. 6b).
Step 3: Knit first stitch on front needle, slip off.
Step 4: Purl next stitch on front needle, leave on.
Step 5: Purl first stitch on back needle, slip off.
Step 6: Knit next stitch on back needle, leave on.
Repeat Steps 3-6 across until one st remains on each needle, then repeat Steps 3 and 5.
Fig. 6
a
b